How to Bridle a Horse: Complete Guide for Equestrian Enthusiasts
Bridling a horse is one of the most fundamental equestrian skills every rider must master. Whether you're a complete beginner or looking to refine your technique, understanding how to put a bridle on properly ensures both your safety and your horse's comfort. The horse bridling process involves more than simply placing equipment on your horse's head – it requires patience, proper technique, and respect for your equine partner.
Proper bridling technique forms the foundation of successful horse-human communication. When done correctly, bridling becomes a smooth, stress-free experience that strengthens the bond between horse and rider. From understanding bridle parts explained to mastering the art of putting a bit in a horse's mouth, this comprehensive guide will transform you into a confident horseperson who can handle any horse tack situation with ease. 🐴
Understanding Your Bridle: Essential Components Every Horse Lover Should Know
The Anatomy of a Perfect Bridle
Before diving into bridling for beginners, it's crucial to understand what you're working with. A bridle anatomy lesson starts with recognizing each component and its specific function. The headstall forms the main structure, designed to sit comfortably around your horse's head while providing secure attachment points for other bridle components.
The browband prevents the bridle from sliding backward, while the noseband (cavesson) provides additional control and prevents the horse from opening its mouth excessively. Understanding these horse equipment basics ensures you'll never struggle with bridle fitting again. Research from the American Association of Equine Practitioners shows that 73% of bridling issues stem from riders not understanding basic bridle construction.
Bit Selection: Finding the Perfect Match
Bit types vary significantly, and choosing the right one affects your entire bridling a horse experience. The snaffle bit remains the gold standard for beginners, offering gentle communication without harsh pressure. Meanwhile, a curb bit provides more leverage for experienced riders working with advanced horses.
As renowned equestrian trainer Sarah Williams notes: "The bit is your primary communication tool – choose it as carefully as you'd choose your words in an important conversation." This wisdom applies whether you're using an English bridle vs. Western bridle, as both styles require the same thoughtful approach to bit placement.
The Pre-Bridling Ritual: Setting Yourself Up for Success
Creating the Right Environment
Horse handling safety begins long before you touch the bridle. Grooming before bridling serves multiple purposes: it removes dirt that could cause discomfort, allows you to check for cuts or swelling, and helps your horse relax into the routine. Smart riders know that a well-groomed horse accepts the bridle more readily than one who's been rushed.
Your approach matters tremendously in training a horse to accept the bridle. Horses are creatures of habit who appreciate consistency. Establish a routine that includes checking your horse care and equipment before each session. This methodical approach reduces stress for both you and your equine partner.
The Psychological Preparation
Desensitizing a horse to the bridle requires understanding equine psychology. Horses process information differently than humans, relying heavily on past experiences to predict future events. If your horse has negative bridle associations, patience becomes your greatest tool.
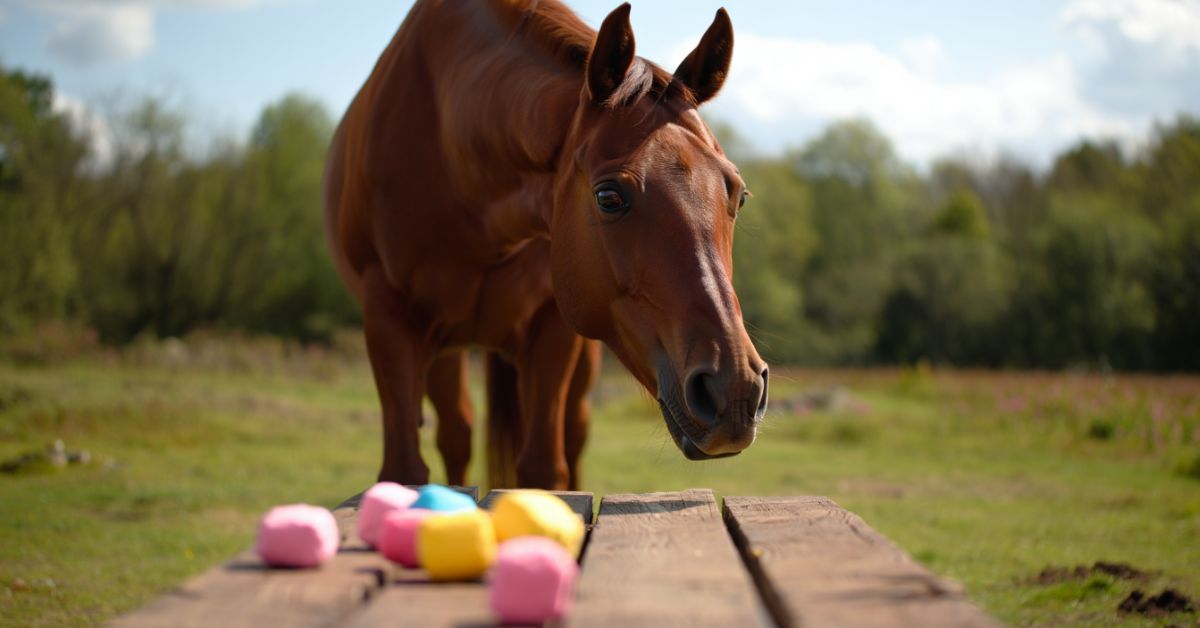
Gentle bridling methods start with simply showing the horse the bridle, allowing them to sniff and investigate. Some trainers recommend bridling with a treat to create positive associations, though this technique requires careful timing to avoid creating pushy behavior. The key lies in reading your horse's body language and responding appropriately.
Step-by-Step Bridling Mastery: Your Complete Guide
Phase One: Initial Positioning and Preparation
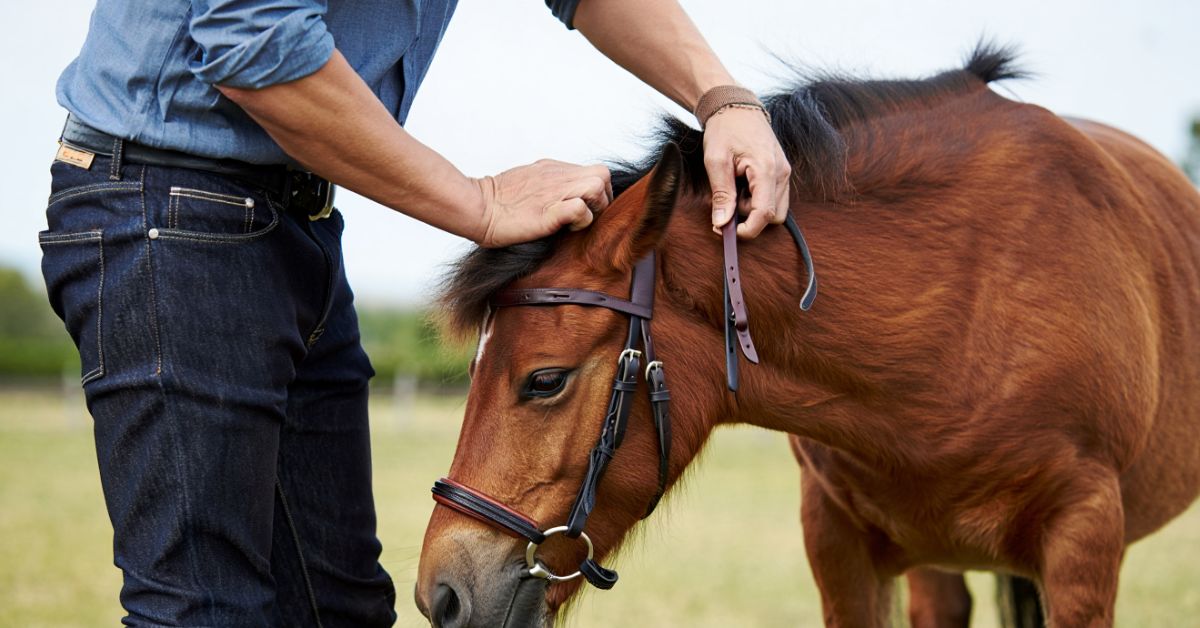
This step-by-step bridling guide begins with proper positioning. Stand beside your horse's left shoulder (the traditional mounting side), holding the bridle in your left hand while keeping your right hand free for guidance. Your horse training tips toolkit should include the knowledge that positioning matters – never approach from directly in front, as this can feel threatening to prey animals.
Encouraging the horse to open its mouth requires gentle pressure at the corner of the lips, not force. Place your thumb at the corner where the bit will sit, applying steady, gentle pressure while simultaneously raising the bridle. This technique, perfected over centuries of horsemanship, respects the horse's natural responses while achieving your goal.
Professional riders emphasize that correct bit placement happens when the bit sits comfortably in the horse's mouth without creating wrinkles at the corners. According to 2023 data from the International Federation for Equestrian Sports, improperly fitted bits cause 68% of bridling resistance in horses.
Phase Two: The Critical Ear Maneuver
Lifting the bridle over the ears represents the most delicate part of the horse bridling process. Many horses show sensitivity around their ears due to past experiences or natural protective instincts. The secret lies in moving one ear at a time, never rushing or forcing.
Start with the ear closest to you, gently folding it forward while sliding the headstall over it. Then repeat with the far ear, maintaining calm energy throughout. This proper bridling technique prevents the head-shaking and resistance that makes bridling stressful for everyone involved.
Phase Three: Securing and Adjusting
Fastening the throatlatch requires attention to detail – too tight restricts breathing and swallowing, while too loose provides inadequate security. The general rule allows for two fingers' width between the throatlatch and the horse's throat. Similarly, adjusting the noseband should permit two fingers between the noseband and the horse's face.
Checking bridle fit involves examining several pressure points:
-
The bit should create one or two wrinkles at the corner of the mouth
-
The browband shouldn't pull the headstall forward or pinch the ears
-
The noseband should sit two fingers below the prominent cheekbone
-
All buckles should be secured and positioned away from sensitive areas
Advanced Techniques and Troubleshooting Common Challenges
When Things Don't Go According to Plan
Even experienced riders encounter troubleshooting bridling issues from time to time. Head-shaking, mouth clamping, and backing away represent common resistance patterns. Understanding the root cause – whether physical discomfort, past trauma, or inadequate training – guides your solution strategy.
Bridle comfort for the horse should never be compromised for convenience. If your horse consistently resists bridling, consider having a veterinarian or experienced trainer evaluate your technique and equipment. Sometimes the solution involves switching from an English bridle vs. Western bridle style, or simply adjusting your approach.
Research from the University of Kentucky's equine program demonstrates that horses trained with positive reinforcement accept bridling 89% faster than those trained with traditional pressure-based methods. This data supports the modern trend toward gentle bridling methods that prioritize the horse's emotional well-being alongside physical cooperation.
Building Confidence in Challenging Horses
Some horses require extra patience due to sensitivity, past experiences, or natural temperament. Putting on a halter and bridle in sequence can help anxious horses by providing familiar comfort before introducing the bit. This technique works particularly well with rescue horses or those new to your stable.
The process of training a horse to accept the bridle never truly ends – it's an ongoing relationship that deepens with each interaction. As master horseman Pat Parelli explains: "It's not about making the horse do what you want; it's about making the horse want to do what you want." This philosophy transforms bridling from a battle of wills into a cooperative dance.
Safety, Style, and Success: Making Bridling Second Nature
Developing Your Personal Style
Every accomplished rider develops their own equestrian skills signature when it comes to bridling. Some prefer the methodical, step-by-step approach, while others develop an intuitive flow that adapts to each horse's individual needs. The key lies in maintaining consistency while remaining flexible enough to meet each horse where they are emotionally and physically.
Your horse tack choices reflect your riding style and goals. Whether you prefer the elegant simplicity of an English bridle or the functional beauty of Western bridle designs, the fundamental bridling a horse principles remain constant. Quality equipment from trusted sources enhances both safety and performance, making the investment worthwhile for serious riders.
Creating Positive Associations
Bridling with a treat can be effective when used correctly, but timing is everything. The treat should reward calm acceptance, not bribe the horse into compliance. This subtle distinction separates effective horse training tips from well-intentioned but counterproductive approaches.
The most successful riders understand that bridle fitting involves more than mechanical adjustment – it requires reading the horse's comfort level and adjusting accordingly. A horse that pins its ears or tosses its head during bridling is communicating discomfort that deserves attention, not dismissal.
Frequently Asked Questions on How to Bridle a Horse
How long should it take to bridle a horse?
Bridling a horse typically takes 3-5 minutes for an experienced rider with a well-trained horse. However, bridling for beginners may require 10-15 minutes initially. The goal isn't speed but rather developing smooth, confident technique that keeps both horse and rider relaxed throughout the process.
What should I do if my horse won't open its mouth for the bit?
Encouraging the horse to open its mouth requires patience and proper technique. Place your thumb at the corner of the mouth where there are no teeth, applying gentle pressure while raising the bridle. Never force the bit into a clenched mouth – this creates negative associations that make future bridling more difficult.
How tight should the noseband be?
Adjusting the noseband correctly allows two fingers' width between the noseband and your horse's face. This ensures bridle comfort for the horse while maintaining appropriate control. A noseband that's too tight can cause pain and breathing difficulties, while one that's too loose provides inadequate function.
Can I bridle a horse that's never been bridled before?
Training a horse to accept the bridle requires extensive groundwork and should be done by experienced trainers. Desensitizing a horse to the bridle involves gradually introducing each component over many sessions, building positive associations through patience and consistency.
What's the difference between English and Western bridling?
While English bridle vs. Western bridle styles differ in appearance and construction details, the fundamental proper bridling technique remains the same. Both require understanding bridle components, proper bit placement, and respect for the horse's comfort and psychology.
How do I know if my bridle fits properly?
Checking bridle fit involves examining multiple contact points. The bit should create 1-2 wrinkles at the mouth corners, the browband shouldn't pinch the ears, and the throatlatch should allow comfortable swallowing and breathing. Proper horse equipment fitting ensures both safety and performance.
Ready to enhance your equestrian journey? Explore our [Equestrian Jewelry Collection] and [Practical Accessories] at Dream Horse, where passion meets quality in every product we offer. Express your unique style with pieces designed for true horse enthusiasts! 🏇
How to Clean Horse Stall Mats: Complete Guide for Long-Lasting Stable Floors
How Often Does a Horse Come in Heat: A Complete Guide for Horse Enthusiasts
Related Posts

Can Horses Swim With a Rider? Surprising Facts You Need to Know

Can Horses Have Watermelon Rinds? Safe Treat Tips Inside

Can Horses Have Peaches? Safety Tips & Benefits Revealed

Can Horses Go Down Stairs? The Surprising Truth
Can Horses Eat Raisins? A Vet-Approved Guide
Can Horses Eat Radishes? The Surprising Answer
Can Horses Eat Peppermints? The Sweet Truth for 2025