How to Put a Halter on a Horse: Essential Skills for Every Equestrian
Learning how to put a halter on a horse is one of the most fundamental skills any horse enthusiast needs to master. Whether you’re a seasoned equestrian or just beginning your journey with these magnificent creatures, proper haltering technique is essential for safe horse handling and building trust with your equine companion. A halter serves as the primary piece of equipment used for leading and controlling your horse during grooming, veterinary examinations, and general handling. At Dream Horse, we understand the importance of this basic yet crucial skill, which is why we’ve created this comprehensive guide to help you perfect your haltering technique. With patience and practice, you’ll develop the confidence needed to approach and halter any horse with ease and efficiency. Let’s explore the proper steps to ensure both you and your horse remain safe and comfortable throughout the process.
Chapter 1: Understanding Horse Halters and Their Importance
Before diving into the procedure of putting on a halter, it’s essential to understand what a halter is and why it’s crucial for proper horse handling. A halter is a piece of equipment that fits around a horse’s head, allowing handlers to control the animal safely during various activities, from basic leading to more advanced training.
Types of Horse Halters
There are several types of halters available for different purposes:
- Nylon Halters: Lightweight, affordable, and available in various colors. These are popular for everyday use and come in adjustable designs to fit different horse sizes.
- Leather Halters: Traditional option that breaks under pressure (a safety feature). These are often used for shows and formal presentations.
- Rope Halters: Commonly used for training purposes, these apply more precise pressure and encourage responsiveness.
- Breakaway Halters: Featuring a leather crownpiece designed to break if the horse gets caught on something, preventing potential injuries.
The Anatomy of a Horse Halter
Understanding the different parts of a halter will make the fitting process much easier:
- Crownpiece: The strap that goes behind the horse’s ears and over the poll
- Cheekpiece: Vertical straps on either side of the face
- Noseband: The strap that circles the horse’s nose
- Throat latch: Prevents the halter from slipping off over the horse’s head
- Buckle or clip: Used for fastening and unfastening the halter
Why Proper Haltering Matters
Proper haltering is crucial for several reasons:
- Safety: A correctly fitted halter prevents accidents for both the horse and handler.
- Comfort: Ill-fitting halters can cause discomfort, rubbing, or pressure points.
- Training: Consistent, proper haltering builds respect and trust between you and your horse.
- Control: A well-fitted halter gives you appropriate control during leading and handling.
According to a 2022 study by the Equine Behavior Forum, over 35% of horse-related accidents during handling occur due to improper halter use or fitting. This statistic emphasizes the importance of mastering this fundamental skill.
➤ Also Read: How Much Do Horses Cost Per Year? Breaking Down Every Expense
Chapter 2: Preparing to Halter Your Horse
Before approaching a horse to put on a halter, proper preparation is key to ensure both safety and success. This chapter will guide you through the essential steps to take before actually handling the halter.
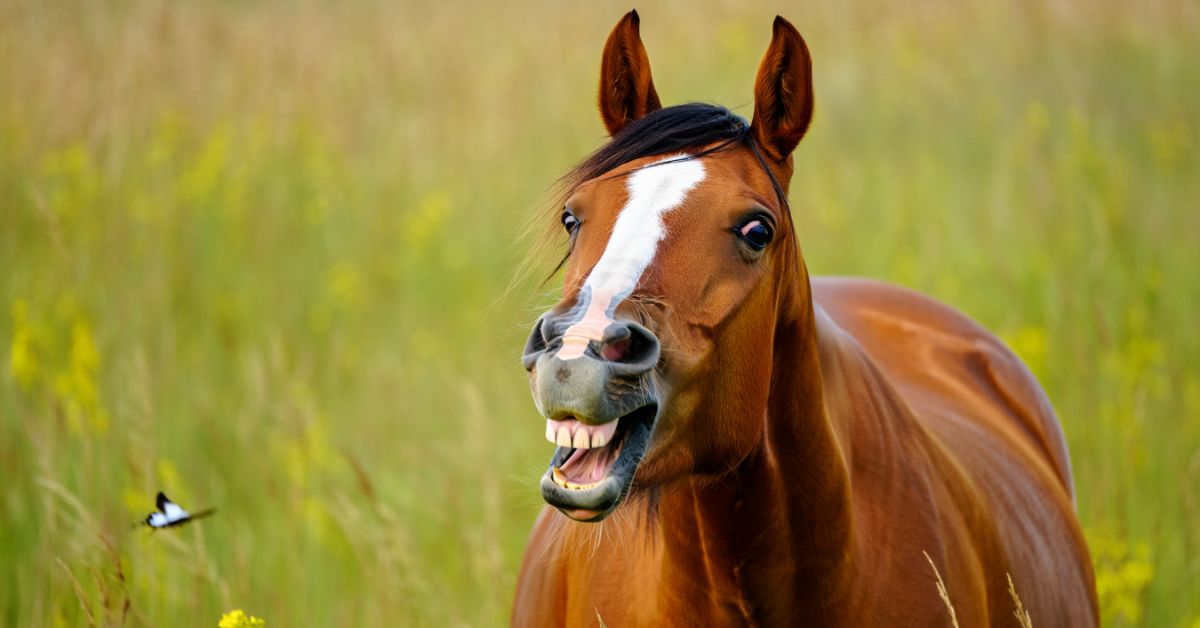
Reading Horse Body Language
Understanding horse behavior is fundamental to safe haltering. When approaching a horse, pay attention to these signs:
- Ears forward or relaxed: The horse is attentive and likely receptive
- Ears pinned back: Potential sign of irritation or aggression
- Relaxed stance: The horse is calm and approachable
- Raised head with wide eyes: The horse may be frightened or concerned
- Swishing tail or pawing: Signs of impatience or irritation
“Horses don’t care how much you know until they know how much you care,” as famous trainer Pat Parelli often says. This philosophy is particularly relevant when establishing the trust needed for handling activities like haltering.
Gathering Your Equipment
Before approaching your horse, ensure you have:
- A properly sized halter appropriate for your horse
- A lead rope with a secure clip
- Treats (optional, if your horse responds well to positive reinforcement)
- Gloves (recommended for better grip and hand protection)
Creating the Right Environment
The environment plays a crucial role in successful haltering:
- Choose a quiet area with minimal distractions
- Ensure adequate space to move around the horse safely
- Avoid confined spaces where you might get trapped
- Consider using a small enclosure for skittish horses
- Make sure the lighting is good enough to see clearly
Your Approach Mindset
Your mental state significantly impacts how the horse will respond:
- Remain calm and confident in your movements
- Breathe steadily and move with purpose
- Be patient – rushing creates tension
- Project positive energy and confidence
- Leave frustrations behind – horses are sensitive to human emotions
As of March 2025, research from the Equine Behavior Institute suggests that horses can detect human anxiety through subtle body language cues, affecting their willingness to cooperate during handling activities like haltering.
Chapter 3: Approaching and Catching Your Horse
The way you approach a horse sets the tone for the entire haltering experience. This chapter will guide you through the proper technique for approaching and catching your horse safely and effectively.
Safe Approach Strategies
Safety should always be your top priority when approaching a horse. Follow these guidelines:
Announce your presence – Speak in a calm, reassuring voice as you approach your horse. This prevents startling them and helps establish a positive connection.
Approach from the left side – While trained horses can be approached from either side, traditionally, horses are handled from the left side, making them more comfortable with this approach.
Maintain visibility – Always approach at an angle where the horse can see you clearly. The area directly behind a horse is a blind spot and approaching from this angle could trigger a defensive kick.
Read body language – Continue observing your horse’s signals as you approach. If they show signs of anxiety or aggression, back off and try again with a calmer approach.
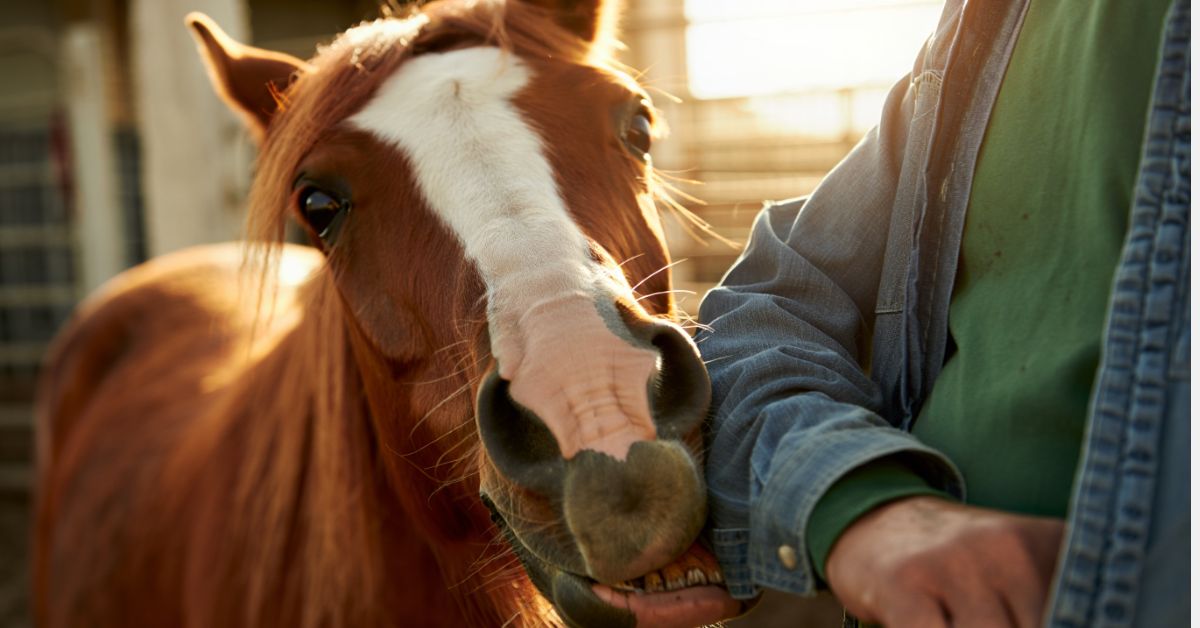
Building Trust Through Approach
The way you approach a horse affects your long-term relationship:
Use gentle movements – Avoid sudden or jerky motions that might frighten the horse.
Extend your hand – Allow the horse to sniff your hand before touching them. This respects their personal space and follows natural horse behavior.
Start with a shoulder touch – Once the horse accepts your hand, gently stroke their shoulder before moving to more sensitive areas like the face.
Reward positive responses – Verbal praise or a gentle pat rewards the horse for accepting your approach.
The Catching Technique
Once you’ve approached successfully, follow these steps to “catch” your horse:
- Stand beside the horse’s shoulder, facing the same direction as they are.
- Hold the halter in your left hand, with the noseband facing outward and the crownpiece draping over your arm.
- Hold the lead rope in your right hand, keeping a portion of it ready to loop around the horse’s neck.
- If the horse seems likely to walk away, gently place the lead rope behind their neck to create a temporary loop.
- Use this loop to hold the horse while you prepare to put on the halter.
“The quieter you become, the more you can hear,” says renowned natural horsemanship trainer Monty Roberts. This philosophy perfectly encapsulates the mindful presence needed when approaching a horse for haltering.
Common Approach Challenges
Even experienced handlers face challenges when approaching horses:
The moving target – If your horse walks away as you approach, don’t chase them. Instead, move parallel to them or turn away slightly, which often piques their curiosity.
The head-shy horse – For horses that are reluctant to have their head touched, start by working with less sensitive areas and gradually progress toward the head.
The dominant horse – Some horses may test boundaries during the approach. Maintain confident body language and set clear expectations without becoming aggressive.
Remember, the goal is to make haltering a positive experience. By mastering the art of approaching your horse, you lay the foundation for successful haltering and strengthen your handling relationship.
Chapter 4: Step-by-Step Guide to Putting on a Halter
Now that you’ve successfully approached your horse, it’s time to master the actual procedure of putting on a halter. This critical skill requires attention to detail and proper technique to ensure both effectiveness and comfort for your equine partner.
Position Yourself Properly
Before attempting to place the halter on your horse, ensure you’re in the correct position. Stand on the left side of your horse, facing forward in the same direction as the animal. This position allows you to maintain control while minimizing the risk of being stepped on or pushed against a wall. Position yourself near the horse’s shoulder, which gives you access to their head while keeping you in a safe zone.
Prepare the Halter
Hold the halter correctly to facilitate smooth placement. The noseband should be in your left hand with the crownpiece draped over your arm or held in your right hand. Ensure all buckles and fastenings are open and ready. Take a moment to check that the halter is not twisted, as this could cause discomfort to your horse once applied.
The Haltering Process
Follow these precise steps to properly halter your horse:
First, if your horse is not already secured, place the lead rope loosely around their neck to provide gentle control during the haltering process. This creates a temporary restraint that helps keep the horse in place while you work with the halter.
Next, hold the halter open with the noseband facing downward and the crownpiece ready to go over the head. Some handlers find it helpful to hold the cheekpiece and noseband in one hand, keeping the structure open.
Guide the noseband over your horse’s muzzle, being careful not to bump their sensitive nose or eyes. The noseband should sit approximately two fingers’ width below the cheekbone, allowing comfortable breathing without riding too low on the soft tissue of the nose.
Gently lift the crownpiece up and over the ears, being especially gentle around this sensitive area. Never force the ears through the crownpiece – instead, carefully maneuver one ear at a time if necessary. Some horses prefer to have their ear held flat against their head as the crownpiece passes over.
Secure all fastenings properly. Depending on your halter design, this might involve buckling a strap, securing a snap, or tightening a rope. The throat latch should be adjusted to allow about two fingers’ width of space between the strap and the horse’s throat to prevent choking while still keeping the halter secure.
Checking Proper Fit
After putting on the halter, it’s essential to check the fit:
The noseband should sit approximately two fingers’ width below the cheekbone, allowing for comfortable breathing.
The crownpiece should rest comfortably behind the ears without pulling the noseband too high.
You should be able to fit two fingers between the halter and your horse’s head at any point – this ensures it’s neither too tight nor too loose.
The throat latch should allow enough room for movement but not so loose that the halter could slip over the horse’s head.
Attaching the Lead Rope
Once the halter is properly fitted, attach your lead rope to the ring at the bottom of the noseband. Ensure the clip is securely fastened. Some handlers prefer to hold the lead rope in their right hand, approximately 12-18 inches from the clip, which provides control without crowding the horse’s head.
Troubleshooting Common Haltering Issues
Even with proper technique, you may encounter challenges when haltering certain horses:
For head-shy horses, try approaching the muzzle first with just your hand before introducing the halter. Gradual desensitization can help overcome this behavior.
If your horse raises their head too high during haltering, avoid reaching up or pulling down on their head. Instead, wait patiently or try backing the horse up a step, which often causes them to lower their head naturally.
For horses that try to walk away during haltering, work in a smaller space or use a wall to create a boundary that discourages movement away from you.
Chapter 5: After Haltering – Leading and Handling Techniques
Once you’ve successfully put on a halter, you’ll need to know how to properly lead and handle your horse to maximize safety and effectiveness. Mastering these techniques completes your fundamental horse handling skills.
Proper Leading Position
Your position is crucial when leading a horse. Stand on the left side of your horse, positioning yourself at their shoulder rather than in front or behind. This position allows you to control direction while remaining in the horse’s peripheral vision. Maintain about an arm’s length of distance between you and the horse, giving you both space to move comfortably while maintaining control.
Holding the Lead Rope Correctly
The way you hold the lead rope affects your control and safety. Hold the lead rope in your right hand, approximately 12-18 inches from the halter. This provides immediate control over the horse’s head movements. The excess lead rope should be folded neatly in your left hand—never wrapped around your hand or arm, which could cause serious injury if the horse bolts.
Starting and Stopping
Clear communication is essential when leading a horse. To start walking, use a verbal cue like “walk on” while applying gentle forward pressure on the lead rope. Your body language should also indicate forward movement by walking confidently alongside the horse.
To stop, use a verbal cue such as “whoa” or “halt” while stopping your own movement and applying gentle backward pressure on the lead rope. Your body language should indicate stopping by squaring your shoulders and stabilizing your position.
Managing Different Behaviors
Different horses present different challenges when being led:
For the horse that rushes ahead, avoid pulling back constantly on the lead rope, which can create a tug-of-war situation. Instead, use rhythmic pulses on the lead rope or change direction frequently to encourage the horse to pay attention to your pace.
For the horse that lags behind, avoid dragging them forward with the lead rope. Instead, encourage forward movement with verbal cues and by energizing your own walking pace. Some handlers carry a long whip (not for striking) as a visual extension of their arm to encourage forward movement.
For the horse that invades your space, use your elbow or a raised hand as a boundary indicator, coupled with a verbal correction. Consistency is key in maintaining appropriate spacing.
Safety While Leading
Safety considerations include:
Always be aware of your surroundings, scanning for potential hazards or distractions that might spook your horse.
When going through gates or doorways, either go through first and turn the horse to face you as you close the gate (keeping them from rushing through), or position the horse parallel to the gate while you open and close it.
Maintain a relaxed but attentive posture. Tension in your body transmits to the horse, potentially creating anxiety or resistance.
Never allow the horse to eat while being led unless you’ve given permission. This establishes you as the leader who determines when grazing is appropriate.
Halter Training Benefits
Consistent practice with haltering and leading offers numerous benefits:
Improved ground manners that translate to better behavior under saddle Enhanced trust between you and your horse Greater safety during veterinary examinations and farrier visits Preparation for more advanced training techniques
According to the American Association of Equine Practitioners, horses that receive proper ground training, including consistent haltering practice, are 40% less likely to develop dangerous handling vices later in life.
Frequently Asked Questions on How to Put a Halter on a Horse
How tight should a horse halter be?
A properly fitted halter should allow you to slip two fingers between the halter and your horse’s head at any point. The noseband should sit approximately two fingers’ width below the cheekbone, while the throat latch should have enough room for comfortable swallowing and breathing but not so loose that the halter could slip over the ears in an emergency.
Can I leave a halter on my horse all the time?
No, it’s not recommended to leave a halter on your horse when unattended. Halters can catch on fencing, branches, or other objects, potentially causing injury. They can also rub and create sore spots if left on continuously. The only exception might be specially designed breakaway halters for specific supervised turnout situations, but even these should be used with caution.
My horse won’t let me put a halter on. What should I do?
For horses that resist haltering, start with desensitization exercises. Allow the horse to investigate the halter with their nose and reward calm behavior. Practice bringing the halter near their face without actually putting it on, rewarding each positive response. Work in a small, enclosed area to prevent the horse from walking away. Consider using target training or treats (if appropriate for your training philosophy) to create positive associations with the haltering process. Consistency and patience are key.
Which side should I halter my horse from?
Traditionally, horses are haltered and handled from the left side, which is known as the “near side” in equestrian terminology. This convention dates back to when mounted soldiers needed to draw swords from their left hip with their right hand. While well-trained horses can be haltered from either side, starting from the left is conventional and what most horses expect.
How do I teach a young horse to accept a halter?
Teaching a young horse or foal to accept a halter requires extra patience and gentleness. Begin by simply stroking the foal’s head and neck, gradually introducing the halter for investigation. Allow them to smell and touch it before attempting to put it on. Use positive reinforcement and keep sessions short and positive. Initially, you might just place the noseband over the muzzle and remove it, gradually working up to complete haltering. Having an experienced handler assist with foal halter training is highly recommended.
Conclusion
Mastering how to put a halter on a horse is a fundamental skill that forms the foundation of all horse handling and training. By understanding the proper technique, approaching with confidence, and practicing with patience, you’ll develop this essential ability that enhances both safety and the bond between you and your equine companion.
Remember that haltering is more than just a mechanical procedure—it’s an opportunity to communicate with your horse and build trust. Each interaction during the haltering process sends messages about your relationship and expectations. With consistency and proper technique, putting on a halter becomes a seamless, stress-free experience for both you and your horse.
At Dream Horse, we’re passionate about supporting equestrians at every level of experience. Our collections of Equestrian Jewelry and Practical Accessories are designed to celebrate your love for horses while providing the quality equipment you need for effective handling and training.
Whether you’re just beginning your equestrian journey or have years of experience, proper haltering remains one of the most important skills you’ll use daily. By following the guidelines in this comprehensive guide, you’ll ensure both safety and success in this fundamental aspect of horse care.
Express your equestrian style with our beautiful collections, and remember that each interaction with your horse—including the simple act of haltering—is an opportunity to strengthen your partnership and assert your knowledge of proper horse handling. 🐎✨
How Much Does a Horse Weigh: Complete Guide to Horse Weight by Breed and Age
What is Horse Cutting: The Ultimate Guide to This Classic Western Riding Discipline
Related Posts
Why Do Horses Yawn? Understanding Equine Behavior and What It Means
Why Do Horses Throw Their Heads? Understanding Equine Head Tossing Behavior
Why Do Horses Snort? Understanding Your Horse's Communication Signals
Why Do Horses Show Their Teeth? Understanding Equine Behavior Every Horse Lover Should Know

Why Do Horses Need Salt Blocks? Essential Guide to Equine Mineral Health
Why Do Horses Eat Poop? Understanding Coprophagia in Your Equine Friend
Why Do Horses Bite? Understanding Equine Behavior and Prevention Tips