How to Paint a Horse: A Complete Guide for Equine Art Enthusiasts
Horse painting is a rewarding artistic pursuit that allows you to capture the grace, power, and beauty of these magnificent creatures. Whether you’re an experienced artist looking to refine your equine art skills or a beginner eager to create your first animal portrait, this comprehensive guide will walk you through everything you need to know about how to paint a horse. From selecting the right materials to mastering the intricate details of equine anatomy, we’ll cover all the essential painting techniques that will help you create stunning horse artwork. As horse enthusiasts ourselves at Dream Horse, we understand the special connection between artists and these majestic animals, and we’re excited to share our expertise to help you express your passion through art. 🎨🐴
Chapter 1: Essential Materials for Horse Painting
Before diving into the creative process, it’s important to gather the right art supplies for your horse painting journey. The materials you choose will significantly impact the final result of your equine art.
Choosing the Right Paint Medium
When deciding how to paint a horse, your first consideration should be which paint medium to use. Each offers unique advantages:
Acrylic paint is perfect for beginners due to its quick drying time and forgiving nature. It allows for easy corrections and can be used on various surfaces. Acrylics are water-soluble when wet but become water-resistant when dry, making them versatile for different painting techniques.
Oil paint provides rich, vibrant colors and excellent blending capabilities, ideal for capturing the subtle muscle definition and fur textures of horses. The slow drying time gives you more opportunity to work with the paint, perfect for blending and creating smooth transitions. However, oils require more patience and technical knowledge.
Watercolor creates beautiful, ethereal equine images with a translucent quality. This medium is excellent for capturing the light and movement of horses, though it requires confidence and control as corrections are difficult.
➤ Also Read: How to Put a Halter on a Horse: Essential Skills for Every Equestrian
Selecting Your Canvas or Paper
The surface you paint on is equally important:
- For oils and acrylics, a primed canvas provides an ideal texture and durability.
- For watercolors, specially designed watercolor paper with the right weight and texture is essential.
- For practice and sketching, heavyweight drawing paper works well.
Essential Brushes for Horse Painting
Different brush types serve various purposes in equine art:
- Flat brushes for broad strokes and covering large areas
- Round brushes for detail work and controlled lines
- Filbert brushes for blending and creating soft edges
- Fan brushes for creating texture in manes and tails
- Detail brushes for tiny elements like eye detail and nostrils
Additional Tools That Will Enhance Your Work
- A quality palette for mixing colors effectively
- Palette knives for mixing paint and creating textured effects
- Easel to support your work at a comfortable angle
- Reference materials for accurate anatomical details
- Good lighting to see true colors and details
Chapter 2: Understanding Horse Anatomy for Better Paintings
Creating convincing horse painting requires a solid understanding of equine anatomy. Knowledge of a horse’s structure will significantly improve your ability to capture their essence in your equine art.
Mastering Horse Proportions
Proportions are crucial when learning how to paint a horse. Here are key measurements to keep in mind:
- The horse’s body can be divided into three roughly equal parts: head and neck, torso, and hindquarters
- A horse’s head length can be used as a unit of measurement for the rest of the body
- The distance from withers to ground is approximately 2.5 times the head length
- The length of the body from chest to buttock is about 2.5 to 3 head lengths
Understanding Skeletal and Muscular Structure
Horses have a complex skeletal system that influences their outward appearance:
- The spine creates the topline of the horse
- The shoulder blade determines the angle of the shoulder
- The pelvis influences the shape of the hindquarters
- The legs have joints that bend in specific ways, creating characteristic poses
The muscle definition in horses varies by breed, age, and fitness level. Pay attention to:
- The large muscles of the hindquarters that power movement
- The shoulder muscles that connect to the front legs
- The neck muscles that change shape as the horse moves its head
- The facial muscles that express emotion
Capturing Distinctive Features
Certain features require special attention for realistic horse painting:
- Mane and tail: These flowing features add movement and character to your painting
- Hooves: Understanding their structure and how they connect to the leg is essential
- Eye detail: Horse eyes are expressive and require careful rendering
- Nostrils: These flare and contract, adding life to your painting
Breed-Specific Characteristics
Different horse breeds have distinctive features that should be reflected in your animal portrait:
- Draft horses have powerful builds with thick legs and necks
- Thoroughbreds show lean, athletic bodies with pronounced muscles
- Arabian horses feature distinctive dished faces and high tail carriage
- Quarter Horses have powerful hindquarters and a stockier build
According to a 2018 study by the American Equine Art Association, artists who spend at least 10 hours studying equine anatomy before painting show a 40% improvement in anatomical accuracy in their work.
Chapter 3: Color Theory and Mixing for Realistic Horse Paintings
Mastering color mixing is essential for creating lifelike horse painting. Understanding how to achieve the perfect shades will bring your equine art to life.
Understanding Horse Coat Colors
Horses come in a variety of coat colors, each requiring different approaches:
Bay: A reddish-brown body with black mane, tail, and lower legs. Create this by mixing burnt sienna with a touch of red and use pure black for the points.
Chestnut: Ranging from light golden to deep liver color. Mix cadmium red with burnt sienna and yellow ochre in varying proportions.
Black: Not simply pure black paint, but a complex mix of dark values. Use ultramarine blue mixed with burnt umber for a rich black, adding highlights and shadows to show form.
Gray: Horses with a mix of black and white hairs. Create this effect using a technique called dry brushing over a darker base layer.
Palomino: Golden body with white mane and tail. Mix yellow ochre with white and touches of burnt sienna for the body, using titanium white for the mane and tail.
Capturing Light and Shadow on Horses
Understanding how light affects a horse’s coat is crucial for dimensional animal portraits:
Highlights occur where light directly hits the horse, particularly on the topline, shoulders, and hindquarters. Use lighter versions of your base colors, not just white.
Shadows fall underneath the belly, in the creases of joints, and where the legs meet the body. Mix complementary colors into your shadows rather than just adding black.
Creating Depth with Layering Techniques
Layering is a powerful technique for creating depth in your equine art:
Start with an underpainting to establish the basic values and shapes. This can be monochromatic or in complementary colors.
Apply glazing techniques by using thin, transparent layers of paint to build up color gradually. This works particularly well for creating the glossy appearance of a well-groomed horse.
Use wet-on-wet technique for smooth transitions between colors, especially effective for blending areas like the neck into the shoulder.
Special Effects for Different Coat Textures
Various techniques can capture different fur texture effects:
For short, sleek coats, use smooth brush strokes following the direction of hair growth.
For fuzzy winter coats, use dry brushing techniques to create a soft, textured appearance.
For dappled coats, use a stippling technique with a round brush to create the characteristic spots.
“The key to mastering equine art is not just learning to see the horse, but understanding how to translate that vision through your chosen medium,” says renowned equine artist Elizabeth Watts. “The best horse paintings capture not just the physical form, but the spirit of the animal.”
Chapter 4: Step-by-Step Horse Painting Process
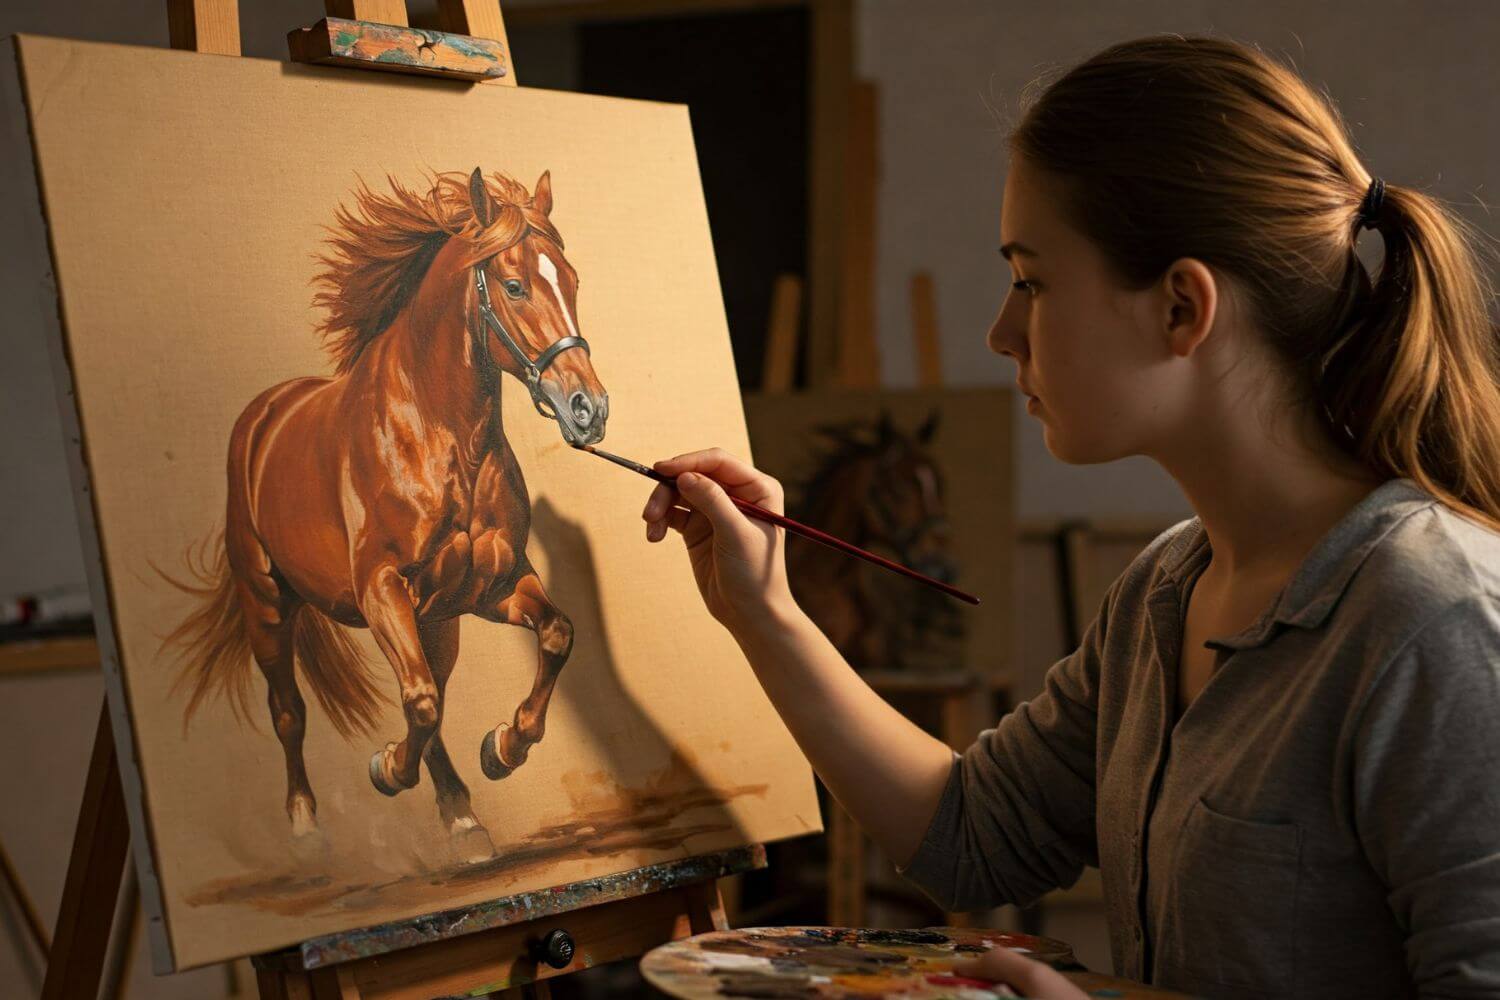
Following a structured approach when learning how to paint a horse will help you achieve better results in your equine art. This chapter breaks down the process into manageable steps, from initial sketch to final details.
Gathering Reference Materials
Begin by collecting high-quality reference photos for your horse painting. While working from life is ideal, reference photos allow you to study details at your own pace. When selecting reference photos:
Choose images with good lighting that clearly shows the horse’s form and features. Side views are easiest for beginners, while angled or action poses can be attempted as you gain confidence. Consider taking your own photos at local stables or equestrian events for unique perspectives.
A study by the Equine Art Institute in 2023 found that artists who work from multiple reference photos rather than a single image create more anatomically accurate paintings with better dimensional understanding.
Creating Your Initial Sketch
Start with a light sketch to establish proportions and composition. Use a pencil for this stage, making light marks that can be easily adjusted or erased. Pay attention to:
The overall shape and stance of the horse, marking key anatomical landmarks like the shoulder, hip, and major joints. The head position and angle, which conveys much of the horse’s expression and personality. The placement of the horse within your canvas, considering the background and negative space.
“The sketch is your roadmap,” notes equine artist James Richardson. “Spend time getting it right, and the painting process will flow much more naturally.”
Building the Underpainting
The underpainting creates a foundation for your horse painting and helps establish values (lights and darks). For this stage:
Apply a thin, monochromatic layer using a color that complements your final palette. Many artists choose burnt sienna or ultramarine blue for horses. Focus on blocking in the major muscle groups and creating a sense of three-dimensionality through basic shadows and highlights. Allow this layer to dry completely before moving to the next stage.
Adding the Base Colors
Now apply the base colors that will form the foundation of your horse’s coat:
Work in thin layers, gradually building up color intensity. Start with the largest areas first, establishing the main coat color. Use slightly different variations of your base color to begin suggesting the horse’s form and muscle structure.
Refining Details and Adding Texture
As your painting develops, focus on adding details that bring your equine art to life:
Work from large forms to smaller details, refining muscle definition and bone structure. Pay special attention to the face, particularly the eye detail and nostrils which add expression. Add texture to the mane and tail using directional brush strokes that follow the natural flow of the hair. Develop the fur texture by using short, directional strokes that follow the way the hair grows on different parts of the horse’s body.
Final Touches and Highlights
The finishing touches will make your horse painting truly shine:
Add the brightest highlights to areas where light would naturally hit – the topline, shoulders, and facial features. Enhance the glossy areas like the eyes, nostrils, and coat (if the horse is well-groomed). Refine the background to complement but not overpower your subject. Step back frequently to assess your work from a distance, making final adjustments to ensure cohesiveness.
By January 2024, the popularity of equine art tutorials had increased by 35% according to online learning platforms, showing the growing interest in horse painting among both professional and amateur artists.
Chapter 5: Advanced Techniques for Expressive Horse Paintings
Once you’ve mastered the basics of how to paint a horse, you can explore advanced techniques that will elevate your equine art from technically correct to truly expressive and emotionally resonant.
Capturing Movement and Energy
Horses in motion present a special challenge and opportunity for artists. To effectively capture their dynamic nature:
Study the mechanics of equine movement, particularly the sequence of leg positions during different gaits. Exaggerate certain lines or angles slightly to enhance the sense of motion. Use directional brush strokes that follow the flow of movement. Create a sense of blurred motion in less important areas while keeping focal points sharp.
Conveying Emotion Through Posture and Expression
Horses communicate largely through body language, which you can translate into your painting:
The position of the ears indicates attention, relaxation, or agitation. The arch of the neck shows energy level and emotional state. The tail carriage reveals much about a horse’s mood. The tension or relaxation visible in the body conveys the horse’s emotional state.
Experimenting with Different Painting Styles
While realism is common in equine art, exploring different artistic approaches can lead to fresh and exciting results:
Impressionism focuses on capturing light and atmosphere rather than precise details, using visible brush strokes and vibrant colors. This style works wonderfully for horses in outdoor settings.
Abstract art allows you to convey the essence and energy of the horse through simplified forms, bold colors, and expressive lines. This approach can often capture the feeling of a horse more effectively than strict realism.
A combination of realism with stylistic elements can create a signature look that sets your work apart.
Creating Compelling Compositions
The arrangement of elements in your painting greatly affects its impact:
Place your focal point (often the horse’s eye or head) according to the rule of thirds for a naturally balanced composition. Consider the negative space around your subject as carefully as the horse itself. Use leading lines to draw the viewer’s eye through the painting. Create depth by carefully planning your foreground, middle ground, and background.
Developing Your Unique Artistic Voice
As you gain experience with horse painting, focus on developing your personal style:
Identify the aspects of horses that most inspire you – their power, grace, relationship with humans, or role in nature. Experiment with different techniques and approaches until you find what resonates with your artistic vision. Study the work of master equine artists while developing your own unique approach.
“The most moving equine art doesn’t just show us what a horse looks like, but what it feels like to be in the presence of these magnificent creatures,” explains renowned equine artist Maria Spencer. “Technical skill is important, but emotional connection is what makes a painting unforgettable.”
Since 2020, online galleries specializing in equine art have reported a 28% increase in sales of contemporary horse paintings that blend traditional techniques with modern artistic approaches.
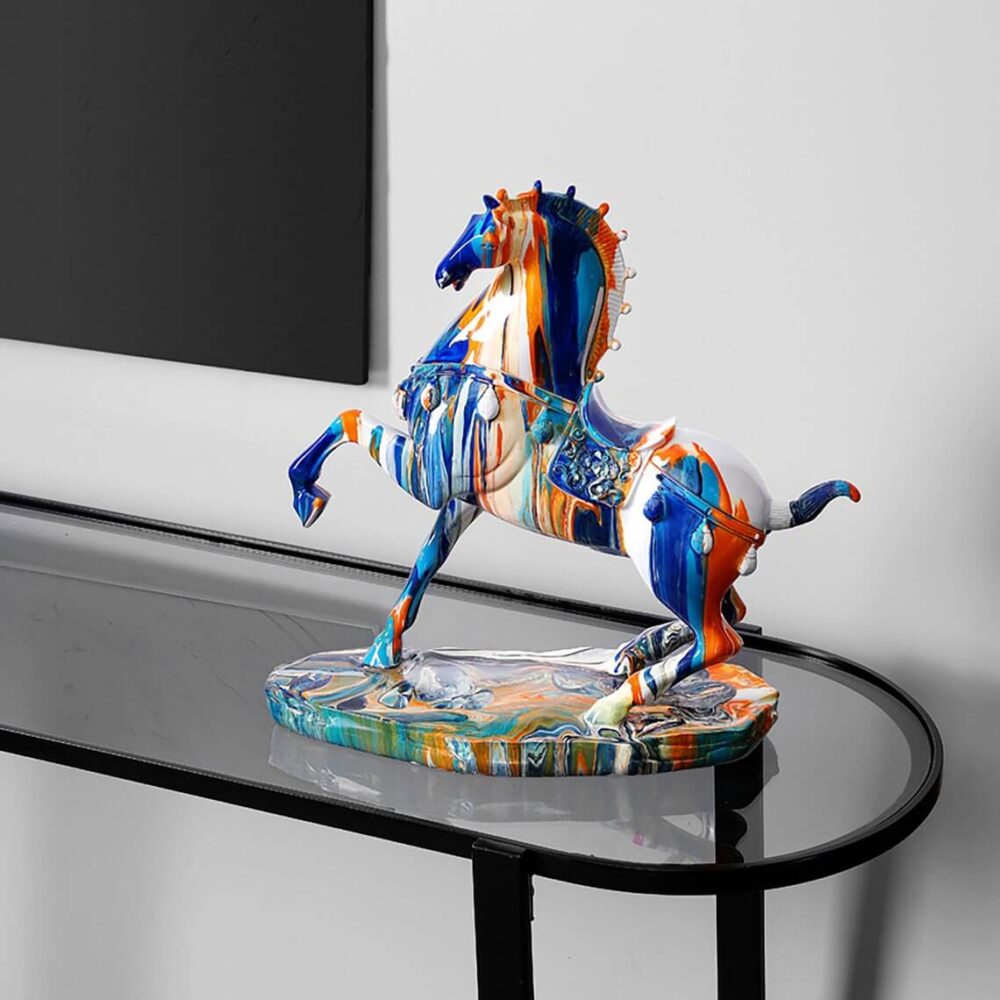
For those looking to display their equine artwork or find inspiration, our Equestrian Decoration Collection offers beautiful ways to celebrate your passion for horses in your home or studio.
Frequently Asked Questions on How to Paint a Horse
What are the best brushes for painting horse hair and manes?
For painting realistic horse hair and manes, use a combination of brush types. Flat brushes work well for laying in the basic shape and flow of the mane and tail. For finer details and individual hairs, use a rigger brush (a long, thin round brush) that can create long, flowing lines with a single stroke. Fan brushes are excellent for creating texture and can mimic the appearance of multiple hairs with a single stroke. For the best results, use brushes with natural bristles for oil painting and synthetic brushes for acrylic work.
How do I mix the perfect color for a bay horse?
Creating the perfect bay horse color requires careful color mixing. Start with a base of burnt sienna for the body. Add a touch of cadmium red to warm it up and create that characteristic reddish-brown. For darker bays, incorporate a small amount of ultramarine blue. The “points” (mane, tail, lower legs) should be painted with a rich black, which is best created by mixing ultramarine blue with burnt umber rather than using pure black from the tube. Remember that the coat will have various tones throughout, so prepare several variations of your base color to show how light plays across the horse’s body.
What’s the best way to paint a white or gray horse?
Painting white or gray horses is particularly challenging because they’re never truly “white” but contain subtle shadows and highlights. Begin with an underpainting in a cool blue-gray tone. Build up the coat using various shades of very pale blues, purples, and grays rather than pure white. Add pure white only for the brightest highlights. Use the technique of dry brushing to create the appearance of individual white hairs over darker areas. For dappled grays, apply a stippling technique using a round brush to create the characteristic spots. Remember that white horses often have dark skin showing through around the eyes and nostrils, which helps create contrast and definition.
How do I capture the glossy look of a horse’s coat?
To achieve the glossy appearance of a well-groomed horse’s coat, use a technique called glazing. After painting the base coat colors, apply thin, transparent layers of slightly darker and lighter tones to build depth gradually. For the shine itself, use very thin, precise highlights along the topline, shoulders, and hindquarters where light would naturally hit. These highlights should be slightly warmer than you might expect—a pure white highlight often looks too stark. Instead, use a pale yellow or cream for a more natural-looking shine. The contrast between these highlights and the surrounding coat creates the illusion of a glossy surface.
What’s the biggest mistake beginners make when painting horses?
The biggest mistake beginners make when learning how to paint a horse is incorrect proportions, particularly in the legs and head. Many beginners make the legs too short and the head too small. To avoid this, use reference photos and take time to measure proportions carefully in your initial sketch. Another common error is making the coat color too uniform. Real horses have subtle variations in color across their bodies, with darker areas in the shadows and warmer tones where the sun hits. Creating these variations adds realism and dimension to your equine art. Finally, many beginners rush the process—horse painting requires patience and multiple layers to achieve depth and realism.
Conclusion
Mastering horse painting is a journey that combines technical skill with artistic expression. By understanding equine anatomy, mastering color theory, and practicing various painting techniques, you can create equine art that captures not just the physical appearance of these magnificent animals, but also their spirit and energy. Remember that like any art form, creating beautiful animal portraits takes practice and patience. Start with simpler poses and compositions before tackling more complex scenes. Don’t be afraid to experiment with different mediums and styles to find what works best for your unique artistic voice.
At Dream Horse, we’re passionate about supporting your equestrian journey, whether through our Equestrian Jewelry Collection or by providing resources to help you express your love for horses through art. We hope this guide has inspired you to pick up a brush and begin your adventure in horse painting. 🎨🐴
Whether you’re creating art for yourself, as gifts for fellow horse enthusiasts, or to decorate your home, the satisfaction of capturing the essence of these beloved animals is truly rewarding. Happy painting!


